
Exhibition Stand Lighting: What Separates a Stand That Is Seen From One That Is Forgotten

Two stands sit side by side, the same size and close to the same budget. One is seen from the far end of the aisle and visitors stop at it; the other is walked past like a wall. In most cases the difference is neither the design nor the material. It is the exhibition stand lighting: what is lit, in what colour, from which angle, and whether it was planned at the design stage or added on the last night as a row of spots on a bar.
This guide is written by the people who build stands and light them in the factory before they travel to the hall. It covers the three layers of exhibition stand lighting, why colour temperature changes from one product to another, how power is ordered from the organiser, what fails in the halls every time, and how much all of it moves the budget.
Why well-built stands get forgotten
An exhibition hall is lit from the ceiling with even, general light designed so visitors can find their way, not so they can see your product. Under it everything turns the same shade of grey: the printed graphic, the product on the shelf, the host’s face. A stand that relies on the ceiling relies on light it did not choose and cannot control, and that light changes from hall to hall and from angle to angle.
The stand that is seen carries its own light. Not necessarily stronger than the ceiling, but higher in contrast: a brighter area inside a dimmer one, so the eye goes there before the visitor has decided anything. That is the first rule of exhibition stand lighting, and everything after it is detail.
The three layers
We draw the exhibition stand lighting at the 3D design stage in three layers. Each has one job, and the absence of any one of them shows in the hall.
Layer one: the stand’s general light
A level of light inside the stand slightly above the aisle, evenly spread, with no dark corners. It usually comes from spots on an overhead bridge or from LED strips hidden in ceilings and cornices. Nobody notices this layer when it works and everybody notices it when it is missing: a dim corner reads to a visitor as a place they are not supposed to enter.
Layer two: product and graphic light
Narrow-beam spots aimed at what must be seen: the product on its plinth, the logo, the one message on the back wall. The working measure is that the light landing on the product should be clearly higher than the light on the floor around it, so the product is the first thing the eye finds. Angle matters as much as intensity. Light from directly above puts a shadow under every edge; angled light from two sides gives depth without a heavy shadow.
Layer three: feature light
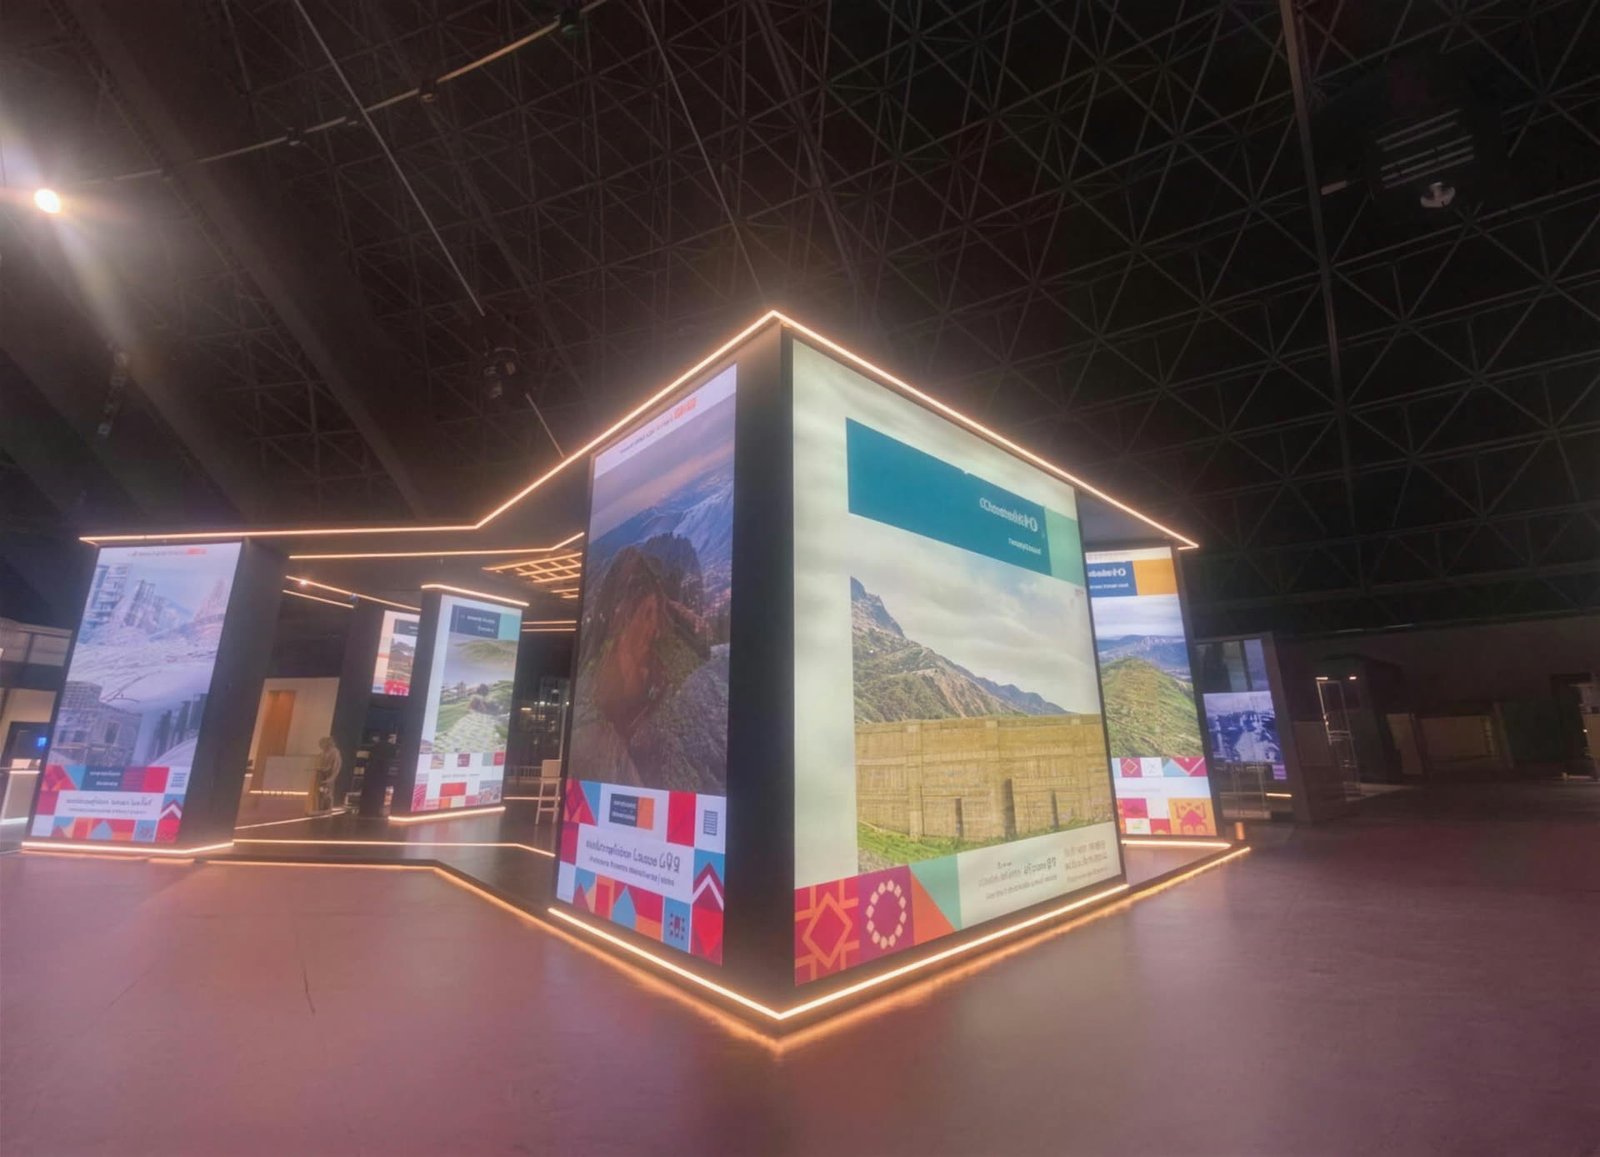
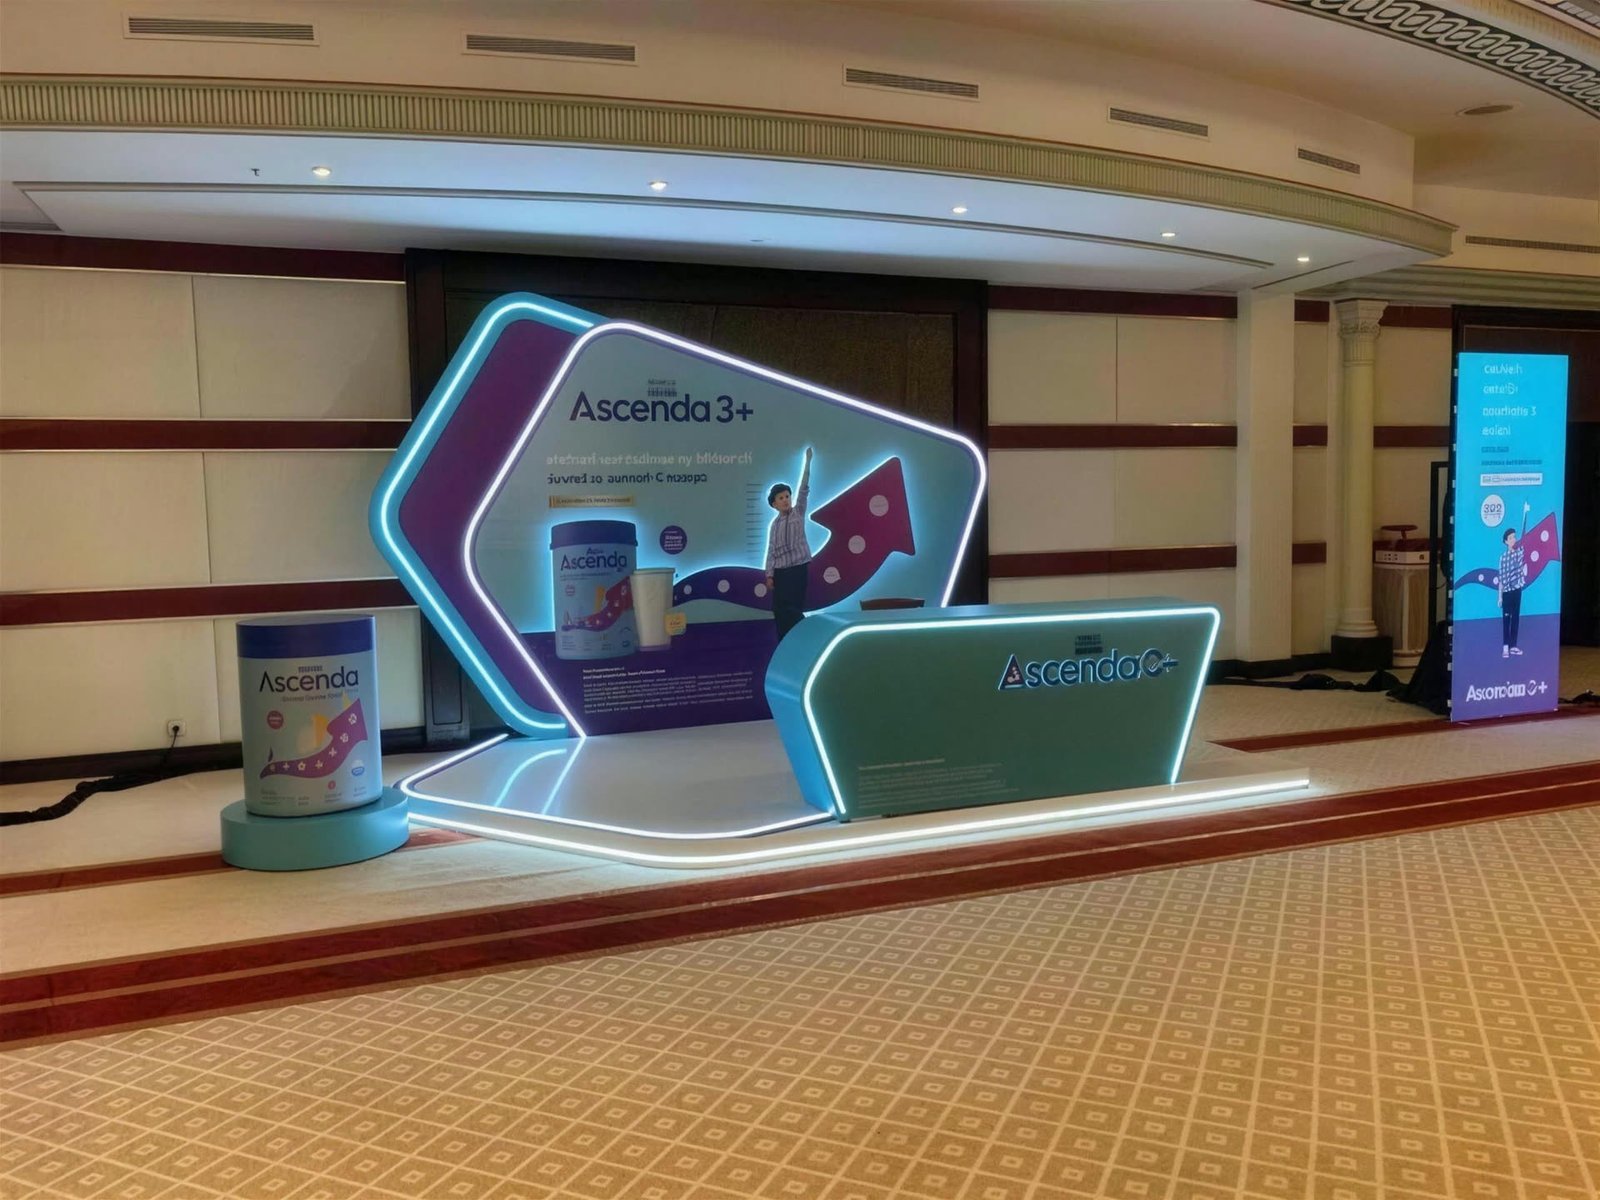
This is the layer that makes the shape of the stand readable from the other side of the hall: lit edges on the structure, fabric graphics lit from behind, illuminated acrylic letters, a line of light tracing the outline. A backlit graphic reads from thirty metres because the light leaves the panel itself instead of bouncing off it, which is why its colours stay saturated under any ceiling. Edge-lit acrylic carries light inside the sheet and releases it at the cut letters and edges, and we make it in our acrylic fabrication section alongside the stand, so the letters arrive with their wiring ready.
Colour temperature: the product decides, not taste
Every light source has a colour temperature, measured in kelvin. Warm light around 3000K leans yellow and suits wood, leather, gold, hospitality and skin. Neutral light around 4000K is a clean white and suits technology, machinery, medical equipment and bright whites. Above that the light leans blue and makes faces look tired, and we use it only on purpose.
The common mistake is not picking the wrong temperature but mixing temperatures by accident: a warm LED strip from one supplier, neutral spots from another, a lightbox with a third. In the hall the result looks like a stand assembled from leftovers, because the eye catches a colour difference between two adjoining surfaces instantly. In the lighting plan we fix one temperature for the whole stand, or two by a clear decision: warm for the seating area, neutral for the product wall.
The second measure is the colour rendering index, written CRI. A low-CRI lamp is bright but shows red as faded and skin as grey; a lamp above CRI 90 shows colours as they look in daylight. For a product sold on its colour, such as jewellery, fashion, food or paint, this index matters more than brightness. It also connects directly to print: a graphic whose colour was approved on screen is printed and then placed under light that shifts it, and our article on print colour matching explains how the colour is matched before printing rather than after.
Measured on the product, not the floor
Lux is the amount of light falling on a surface. The hall gives the floor a moderate general level, and a product that is meant to be seen needs several times that on its own surface, not on the floor around it. So in the dry assembly we measure with a small meter on the product itself, on the logo, and on the host’s face behind the counter, not in the middle of the stand.
The other side of intensity is glare. A strong spot at the visitor’s eye level, or a very bright lightbox behind the host, makes people look away instead of looking in. Screens need light around them, not on them: a screen with a spot on it becomes a mirror. The rule in the lighting plan is that every source is seen by its effect and not seen itself, except what is designed to be seen, such as letters and edges.
Power: what you order from the organiser and what happens under the floor
Every organiser asks the exhibitor to order electricity in advance, in the exhibitor manual, with a deadline weeks before the build. The order states the load in kilowatts, whether the supply is single-phase or three-phase, and where the feed point is delivered inside the stand. Whoever orders less than they need finds out when the breakers trip on opening night; whoever orders far more pays for nothing. We calculate the load from the lighting plan itself: every spot, strip, lightbox and screen has a figure, plus a margin for the devices the client brings on the last day.
In most large halls the exhibitor may not connect the stand to the mains. The organiser’s appointed electrical contractor connects the feed point and inspects the board. Everything after that point is ours: the distribution, the breakers, the cables. In a stand with a raised floor the cables run under the platform, not over it, and that is one of the reasons for raising the floor at all. A stand on the bare concrete needs approved cable ducts and covers, and any exposed cable in an aisle is rejected at the safety inspection.
The fittings themselves are regulated: lamps and drivers with conformity certificates, fire-rated materials in lit ceilings, safe suspension for any lighting bridge. In many halls the stands’ power is switched off at a set hour after the show closes each day and comes back in the morning, so a fridge or a screen that must keep running needs a separate order for a permanent supply. These items differ between Riyadh Front, Malham and RICEC, which is why our exhibition stands in Riyadh page reads each hall’s rules before the design, not after it.
A working rule: the power order goes to the organiser in the week the design is approved, because the lighting plan is complete by then and the organiser’s deadline comes weeks before opening. Late means a late-order fee, or a feed point in the wrong place.
Fittings: what suits each zone
| Zone | Purpose | Fitting | Typical mistake |
|---|---|---|---|
| The whole stand | Even general light with no dark corners | Spots on an overhead bridge or LED strips hidden in the ceiling | Relying on the hall ceiling |
| Products and plinths | Contrast that pulls the eye to the product | Narrow-beam track spots from two angles | One vertical spot casting shadows |
| Back wall and message | Readable from a distance under any light | Backlit fabric graphic or a lightbox | Ordinary print with a single spot |
| Logo and letters | The brand seen from the end of the aisle | Acrylic letters lit from the edge or behind | A printed logo with no light of its own |
| Counter and conversation area | The host’s face clear, faces comfortable | Soft warm light from the front and a strip under the counter | A fierce lightbox behind the host causing glare |
| Edges and outline | The stand’s shape readable from afar | LED strip in an aluminium channel with a diffuser | Bare strip with visible dots |
The four fittings we use in most exhibition stand lighting are the track spot, the LED strip in a diffused channel, the fabric lightbox and the illuminated letter. Each does something the others cannot, and a stand that relies on one type looks flat whatever its brightness. On a modular stand or a shell scheme, lighting is the upgrade that lifts the most for the least; our comparison of a custom stand and a shell scheme details what can be added to the ready-made frame.
What fails in exhibition stand lighting every time
- Dark corners. Two spots in the middle and two unlit corners. The visitor reads the darkness as the edge of the stand, and the stand shrinks in their eyes.
- Hot spots. A strong spot on a small area burns out the colour and hides the detail, and everything around it looks darker than it is.
- Flicker on camera. A cheap driver pulses at a rate the eye cannot see, but every video shot on the stand shows it as rolling bands. It is caught in the dry assembly by filming the stand on a phone.
- Mismatched colour temperature. A warm strip, a neutral spot and a bluish lightbox. Solved by one supplier and one temperature in the lighting plan.
- Print that changes colour under the light. The colour approved on screen is printed, then placed under warm light and turns yellow. A print sample is checked under the stand’s own light before the full run.
- Cables at the last minute. A stand designed with no cable route ends with wires taped to the floor and black tape in every photo.
- Light on the screen. A spot aimed at the screen instead of around it, so it becomes a white mirror in the pictures.
How much lighting moves the budget
Among the factors in a stand’s cost, exhibition stand lighting is a comparatively small line next to the structure, the joinery and the graphics, and its effect on what the visitor sees is larger than any line its size. What raises the cost is not the number of lamps but late decisions: adding light after the structure is complete means opening ceilings and threading cables through closed walls. What lowers it is planning: a lighting plan drawn with the 3D design shows the number of points, the load and the cable routes, and reserves their place in the structure before anything is cut.
That is why lighting appears in our quote as its own line, with the number and type of points, rather than hidden inside an all-in stand. When you compare two quotes for a custom exhibition stand, ask for the lighting plan before you ask for the price, because a quote with no lighting plan is a quote that will discover the lighting in the hall.
The dry assembly: light is checked in the factory
We build the whole stand in our factory before it ships, switch off the factory lights and run the exhibition stand lighting on its own. This is where the dark corner, the spot that throws a shadow across the logo and the gap between two colour temperatures are found, and where the stand is filmed on a phone to catch flicker. A change here costs minutes; the same change in the hall on opening night costs the night. After the dry assembly the stand ships to its hall, whether it is one of our exhibition stands in Jeddah or bound for Riyadh or Dammam, with spare fittings and spare drivers in the same crate.
This is how we run every project as an event management company in Saudi Arabia working from our own factory: design, lighting and fabrication under one roof, so the light is never handed to a third supplier who sees it for the first time in the hall. The show dates that all of these steps are counted back from are in our Saudi exhibitions calendar.
The Illuminating Engineering Society, IES, publishes the references used in exhibition lighting design, and the principle its guidance keeps returning to is the one we see in every hall: light that is seen by its effect works, and light that is seen itself tires the eye.
Frequently asked questions
What matters most in exhibition stand lighting?
Contrast, not brightness: a product and a logo lit more than their surroundings, under one colour temperature, with no dark corners and no glare at eye level. A stand that carries its own light is seen; one that relies on the hall ceiling is forgotten.
Which colour temperature should I choose?
The product decides: warm around 3000K for wood, leather, hospitality and faces, neutral around 4000K for technology, machinery and whites. What matters most is not mixing temperatures by accident across strips, spots and lightboxes.
How do I order power from the organiser?
Through the exhibitor manual, by a deadline weeks before the build, in kilowatts with the phase type and the feed point location. We calculate it from the lighting plan with a margin for extra devices and send it in the week the design is approved.
Is lighting worth adding to a shell scheme?
Yes, and it is the upgrade that lifts a ready-made frame the most for the least: a backlit graphic, track spots and a strip under the counter make a shell scheme differ from its neighbour at once.
Why does my stand flicker on video?
Because of a cheap driver pulsing at a rate the eye cannot see but the camera can. We catch it in the dry assembly by filming the stand on a phone and replace the driver before shipping.
When is the lighting plan drawn?
With the 3D design, before anything is cut. That is when every point’s place and every cable’s route is reserved in the structure, and the load is calculated for the power order. Lighting added after the structure is complete costs more and looks added.
From Our Factory to the Show Floor
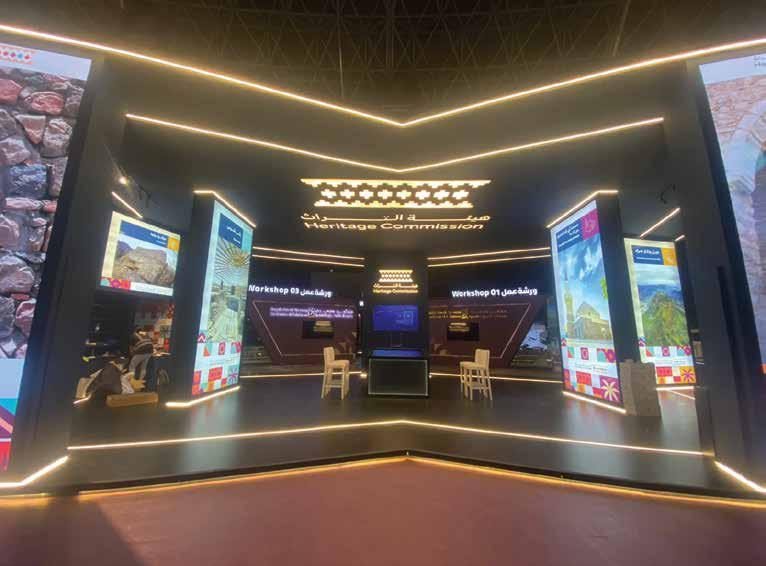
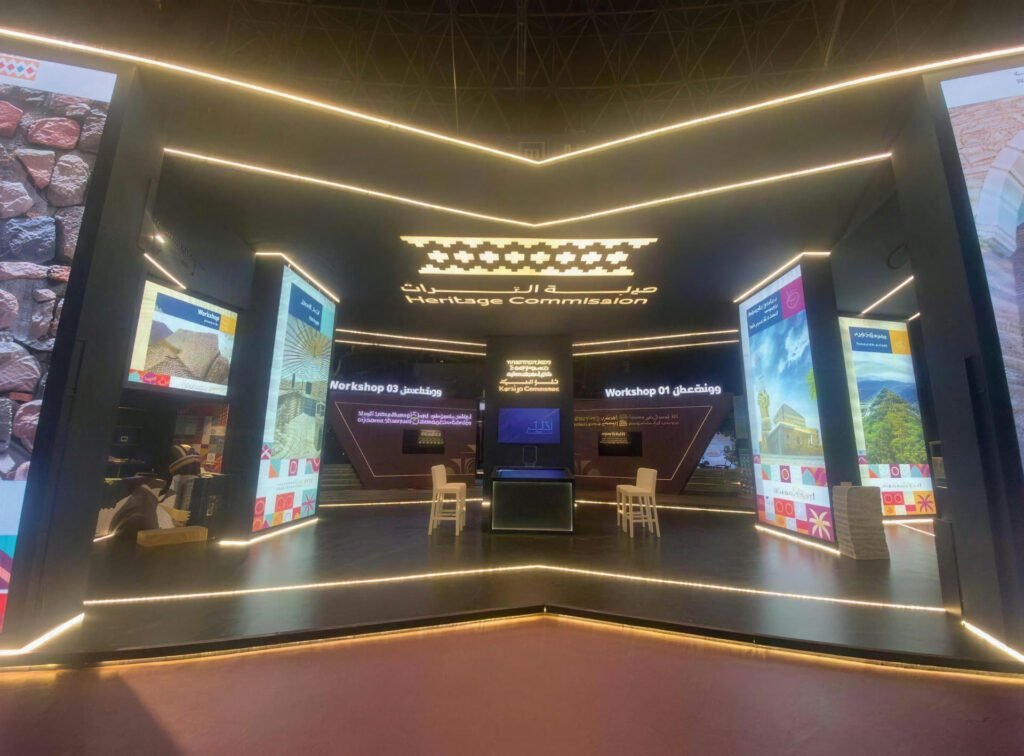
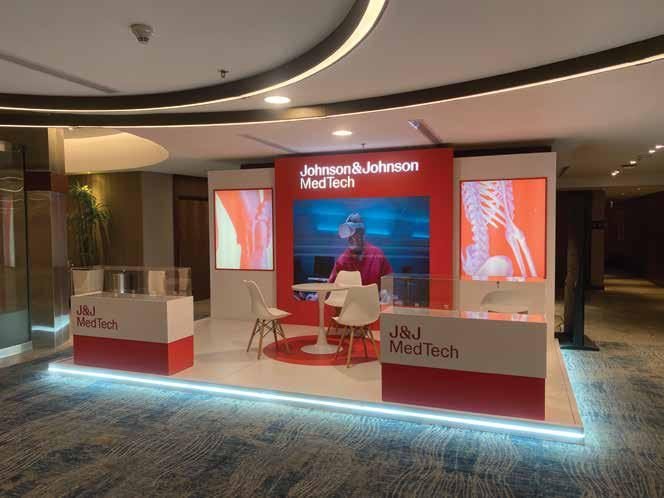
Photographed on site after handover, no renders.

Have a project and want a real number?
Send the area, the date and the city, and we come back with an itemised quote within 24 hours. No commitment, and no vague all-in price.

